A Beginner’s Guide to Streaming on Twitch and YouTube Gaming

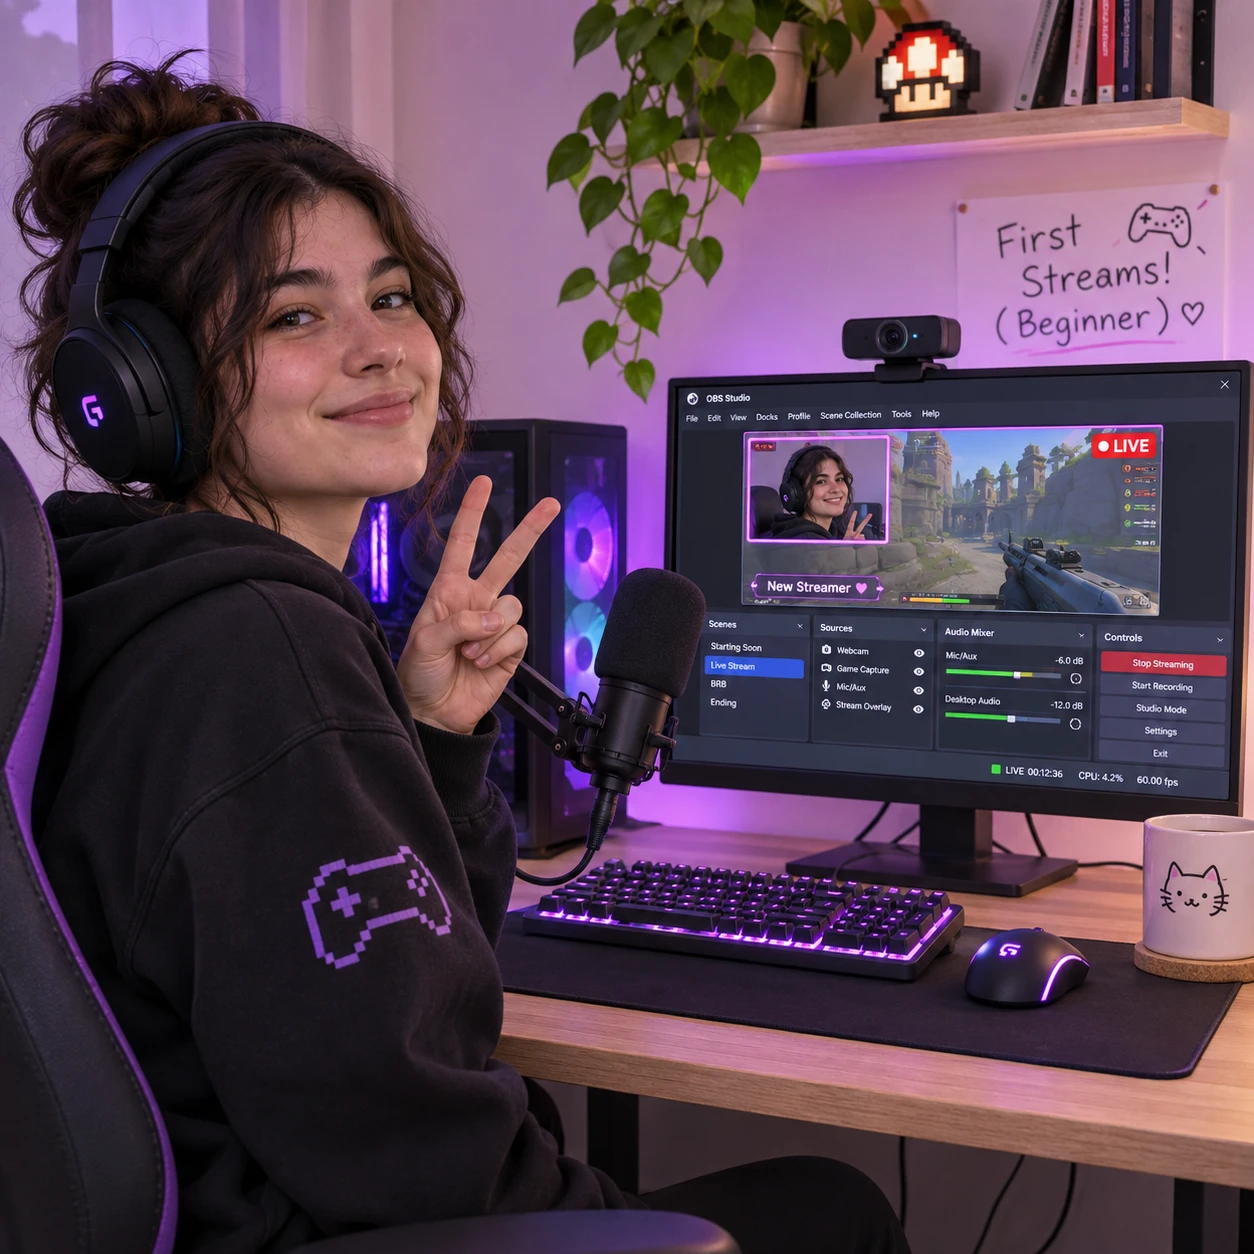
Starting a gaming stream can feel like a technical project, but you can go live with a modest setup and a few deliberate checks. Choose a platform, connect your game to streaming software such as OBS Studio, test your audio and internet connection, then focus on making the stream welcoming and safe.
Choose a platform that fits your goals
Twitch and YouTube Gaming both let you broadcast gameplay and interact with viewers, but they differ in how live streams fit into each service. Choose based on where you want your audience to find you and how you plan to share content beyond the live session.
Twitch is centered on live streaming, with chat and live channels at the heart of the experience. It may suit you if you want to spend most of your time broadcasting and talking with viewers in real time. YouTube Gaming is part of YouTube, so a live stream can sit alongside searchable videos and Shorts on the same channel. That can be useful if you also want to publish edited gameplay, guides, or highlights.
Neither platform guarantees discovery. A new channel may take time to attract viewers on either service, so choose the one that supports the content you can make consistently. Check each platform’s current account, age, and live-streaming requirements before planning a broadcast; policies and features can change.
- Pick Twitch if live chat and a live-first community are your main priorities.
- Pick YouTube Gaming if you want live broadcasts and recorded videos under one channel.
- If you are unsure, try one platform for several test streams, then assess the workflow and audience response before committing.
Start with the equipment you have
You can start streaming with a gaming PC or supported console, a reliable internet connection, and free streaming software. A dedicated microphone, webcam, and capture card can improve your setup, but none is automatically required for a first stream.
For PC gaming, the same computer may run the game and encode the broadcast. Performance depends on the game, hardware, and stream settings, so test before inviting viewers. If the game slows down while streaming, reduce graphics quality, lower the stream resolution, or use a separate device for encoding if one is available.
Console players can often broadcast directly through the console’s streaming features. A capture card is useful when routing console video through a computer, where you can manage scenes and overlays in OBS Studio. It adds flexibility, but also cost and setup steps. Check that the card supports your console’s resolution and frame rate before buying.
Prioritize sound over a polished camera setup. A basic USB microphone or a headset mic placed close to your mouth can make speech easier to hear than audio picked up from across the room. A webcam is optional; if you use one, face a light source and keep the background clear. A stable wired connection can help reduce interruptions, though a strong Wi-Fi connection may work for testing.
Set up your streaming software and channel
To set up a stream, connect OBS Studio or similar software to your platform, add the game as a source, and enter basic channel details. Start with one simple scene so you can confirm that the game, microphone, and stream output work together.
Install OBS Studio from its official website, then follow its setup prompts to select an encoder and connect your Twitch or YouTube account. You can also use a stream key from your platform’s creator dashboard; keep that key private because it can allow someone else to broadcast to your channel.
In OBS, add a game capture source for PC gameplay, or a video capture device if you are using a capture card. Add your microphone as an audio input and check that its meter moves when you speak. A starting scene needs little more than the game and clear audio. Add a webcam only if you want one.
Complete the channel basics before going live: choose a readable name and profile image, write a short description, and set a stream title that accurately describes the game or activity. Overlays and alerts can identify your channel or notify you about activity, but too many graphics can cover the game and distract viewers. Add them after the core setup works.
Test your audio, video, and stream settings
Before going live, make a short test recording or private test broadcast and check speech clarity, gameplay smoothness, and connection stability. Correct problems one at a time; a simpler, steady stream is better than a high-resolution broadcast that stutters or drops.
In OBS Studio, set the stream resolution and frame rate to match what your computer and connection can handle. A common beginner starting point is 720p at 30 frames per second, but the right settings depend on your hardware, game, and available upload speed. Higher resolution and frame rate require more encoding capacity and bandwidth, so increase them only after testing.
- Audio: Speak at your normal volume and listen to the recording. Your voice should be clear over the game, without clipping or constant background noise.
- Video: Check that the game is framed correctly and that any webcam image is well lit. Look for freezing, blur, or distracting overlays.
- Connection: Watch OBS’s connection indicators and review the test for dropped frames. If problems persist, lower the bitrate or stream settings and try a wired connection.
Do not judge quality only by what the preview looks like on your own computer. A recording lets you hear the balance as a viewer would, while a test on the platform can reveal issues with the actual connection. Keep notes on each adjustment so you can undo changes that make things worse.
Go live and engage with viewers
To go live, choose a clear title and game category, confirm your microphone and scene, then start the broadcast and greet viewers who join. Keep chat welcoming, use moderation tools, and avoid sharing personal information on screen or in conversation.
A useful title tells people what is happening without promising more than the stream delivers. For example, name the game and a specific activity, such as a first playthrough or a ranked session. Before pressing the live button, close private messages and unrelated browser tabs, silence notifications, and check that your desktop does not show your real name, email, or other sensitive details.
Chat can be quiet at first. Narrate what you are doing, explain decisions, and ask easy questions that do not require viewers to carry the conversation. When someone comments, respond naturally without stopping the game for too long. You are building a habit of interaction, not performing a script.
Set basic chat and moderation rules early. Use platform tools to block spam, filter terms, and appoint a trusted moderator if your channel grows. Avoid displaying private messages or identifying viewers without permission. If a viewer behaves badly, apply your rules consistently rather than arguing during the stream.
Improve your stream over time
Improve your stream by reviewing recordings or available analytics, choosing one issue to fix, and following a schedule you can sustain. Small, repeatable changes usually help more than buying new gear before you know what is limiting your broadcasts.
After each stream, review a few minutes from the beginning and a section from the middle. Ask whether your voice was easy to hear, whether the game ran smoothly, and whether overlays or alerts interrupted the action. Platform analytics can show viewing patterns, but treat early numbers as feedback, not a verdict on your potential.
Use a simple improvement loop: review, choose, test. If the voice is hard to hear, adjust microphone position or audio levels. If the stream stutters, lower the bitrate or resolution. If viewers cannot tell what the stream is about, make the title and channel description more specific. Change one thing at a time so you can tell whether it helped.
Set a realistic schedule, such as one or two sessions a week at times you can reliably keep. Consistency gives returning viewers a better chance to find you, but streaming more hours is not a guarantee of growth. Protect time for breaks, game practice, and any editing you want to do. Upgrade equipment only when you can name the problem the purchase will solve.
Beginner streaming FAQ
Most beginner streaming questions come down to choice and testing: you can start without a webcam, stream directly from some consoles, and use OBS Studio for a flexible PC setup. The right platform depends on your format and goals.
Do I need a webcam to start streaming?
No. Viewers can follow gameplay with clear commentary, and a webcam is an optional presentation choice. If you add one later, improve lighting and framing before spending on a more expensive camera.
Can I stream directly from a console?
Often, yes. Many consoles include built-in broadcasting options, though available features depend on the device and platform. A capture card and computer are alternatives when you want more control over scenes, microphone routing, or overlays.
What software do beginners use to stream?
OBS Studio is a popular free option for managing game capture, audio, scenes, and stream output. Some platforms and graphics-card makers also offer broadcasting tools. Choose software that supports your device and feels manageable; you can change tools as your needs develop.
Is Twitch or YouTube Gaming better for a new streamer?
Neither is universally better. Twitch may fit a live-first channel focused on chat, while YouTube Gaming can suit creators who also want to publish searchable videos on the same channel. Try the workflow that matches your content, then decide based on what you can maintain and what your viewers respond to.